
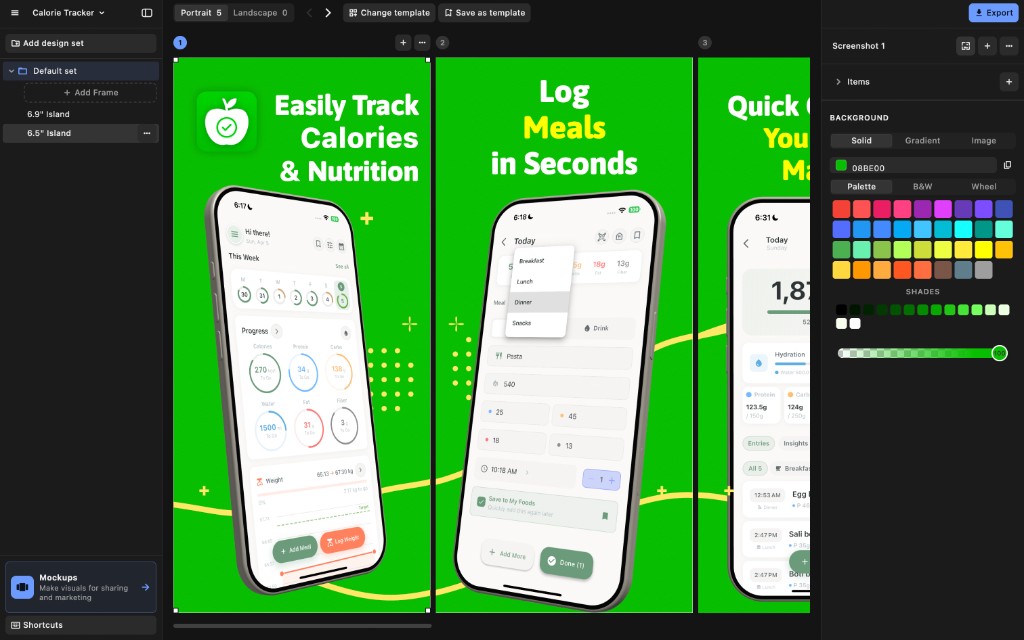
You are finally ready to push your amazing app to App Store but you realize, oh no! I forgot about App Store Screenshots! Sighhhh…. That’s gonna take good few hours or at worst a day to make!
Well, we’ve all been in that position. Creating App Store screenshots is indeed a pain! But you need them to submit your app, and screenshots are the first thing users see when they’re looking for your app. Your app screenshots decide if they’re going to download your app or not!
But you don’t have to worry! You can use AppShots to create stunning store ready screenshots for your app within minutes! Select a template, add your screenshots, update your screenshot labels and click export! It’s that simple! Store ready screenshots in minutes!
AppShots takes care of following
- all screenshots specific guidelines for your apple and android apps. Screenshots come out in dimensions and format expected by Apple. You never have to second guess if they’ll be rejected.
- Making sure latest device frames are at your fingertips. Polished 3D/2D frames/bezels for apple and android devices. Tired of creating landscape screenshots as well? AppShots lets you easily convert your portrait designed screenshots to landscape in minutes.
- And yes, localization. This is a big one! But AppShots automatically translates all your screenshot texts to your preferred locale in seconds.
- And more…
Here’s a step by step guide to creating store ready professional screenshots with AppShots.
A few screenshot sets made with AppShots:
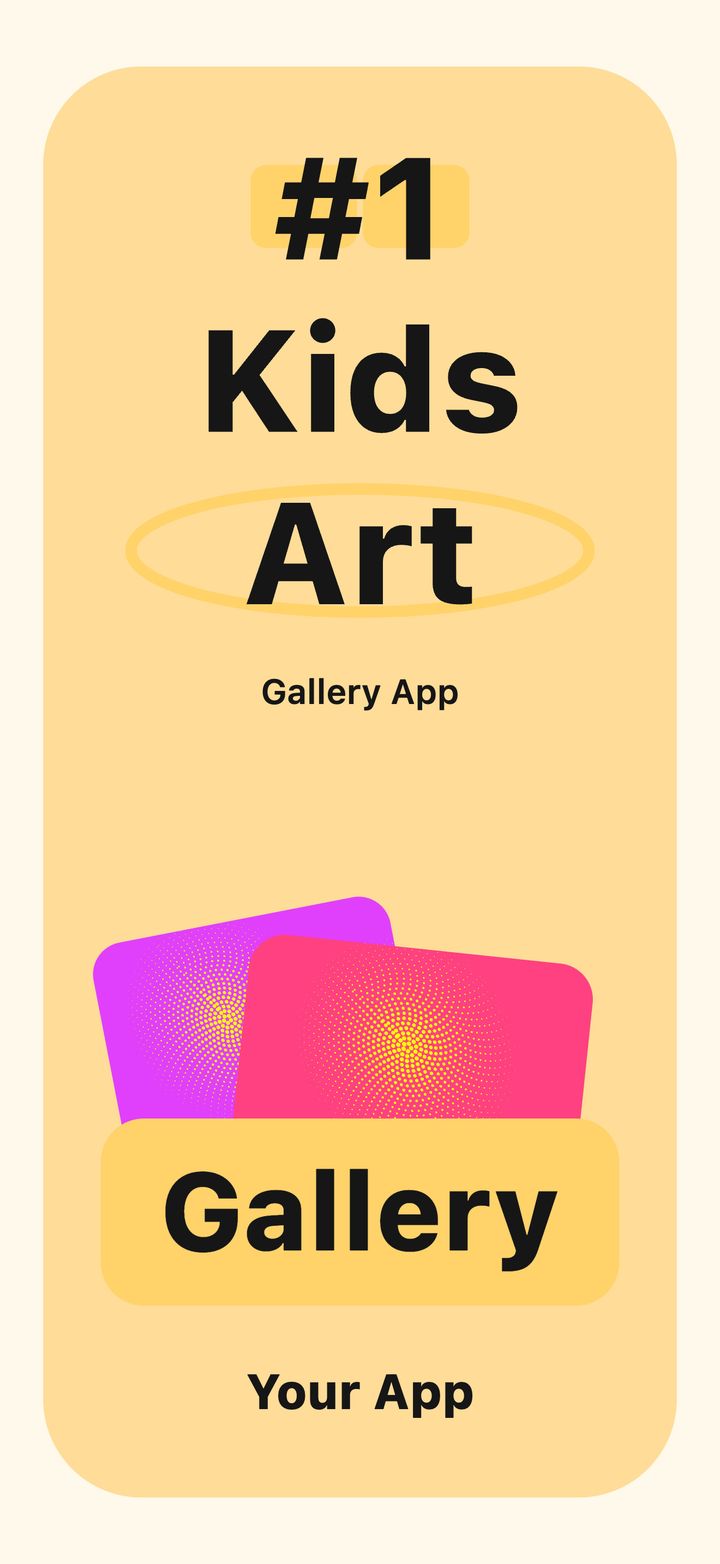
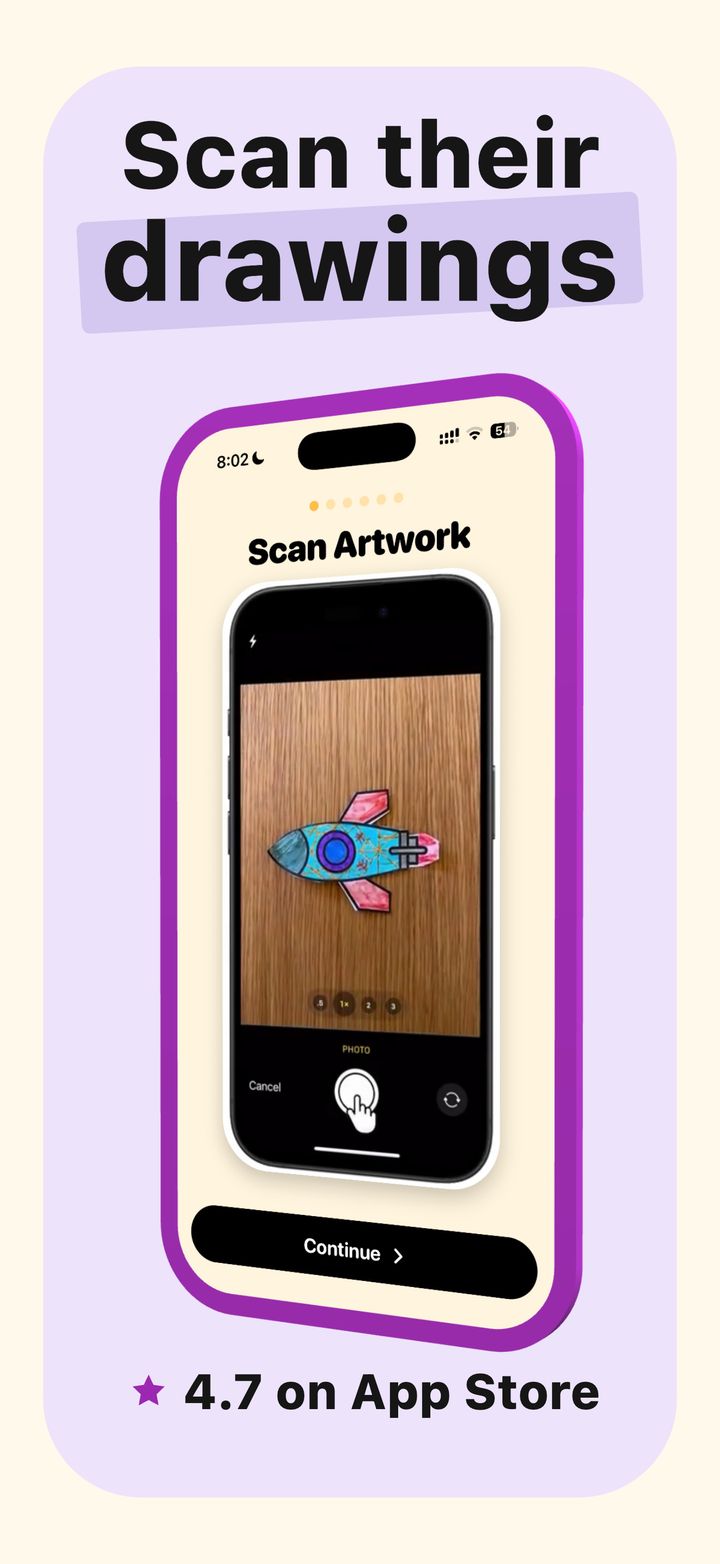
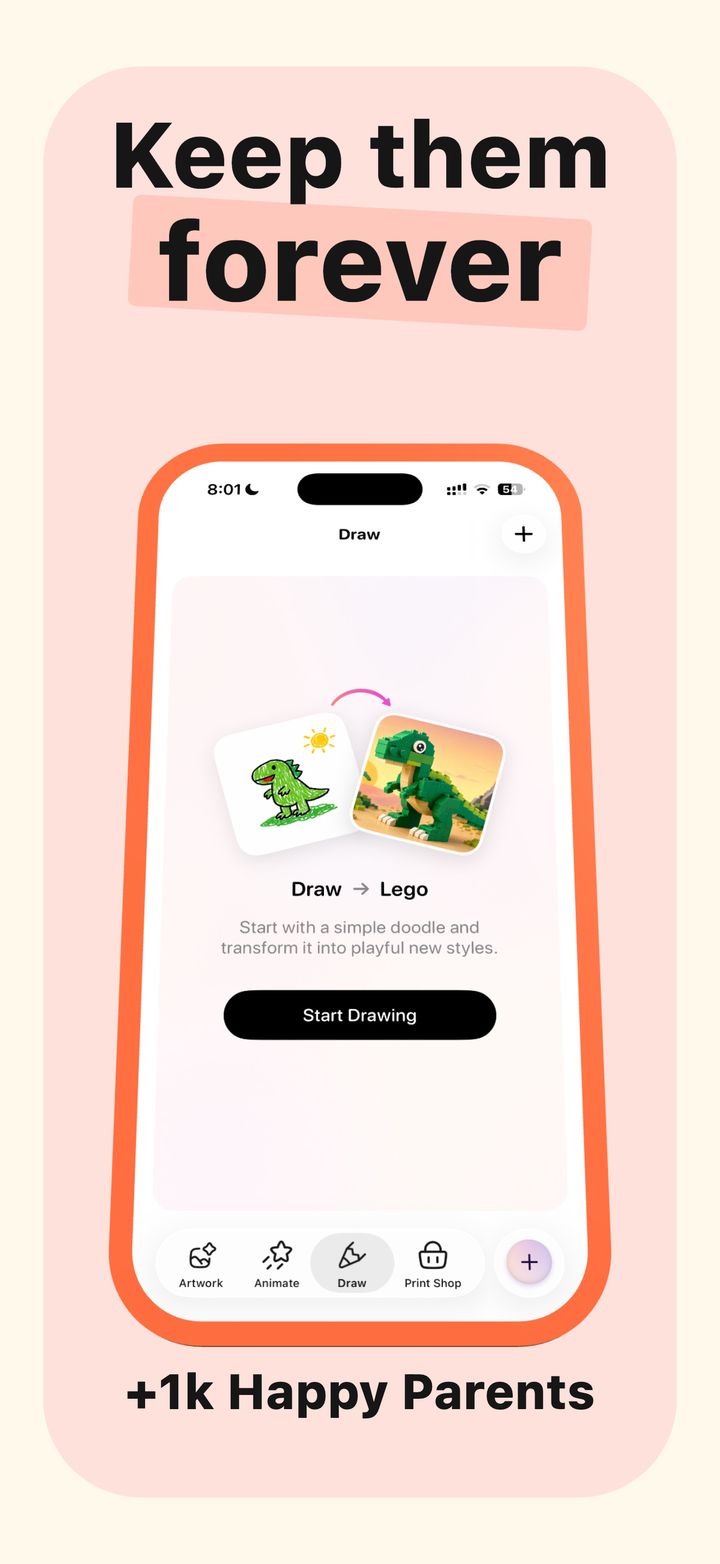
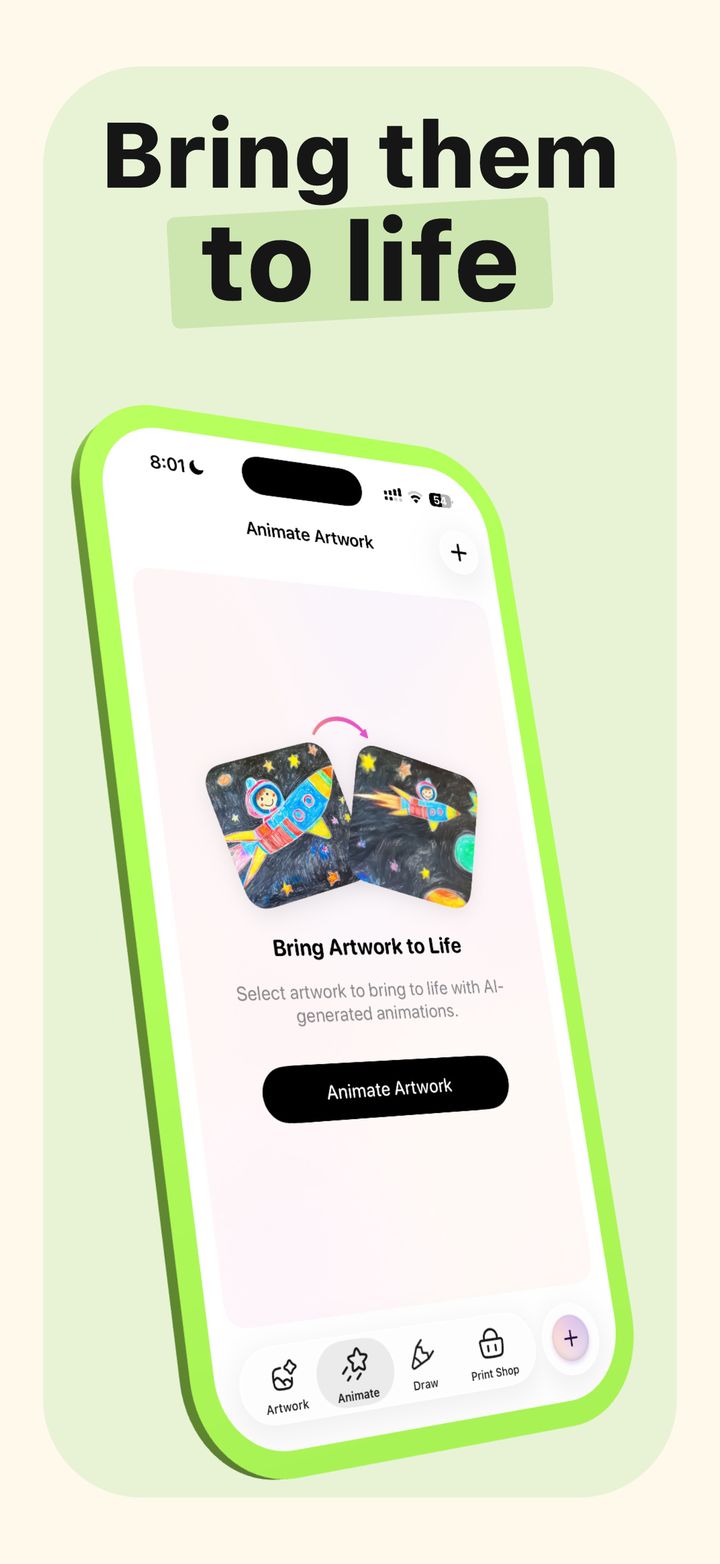
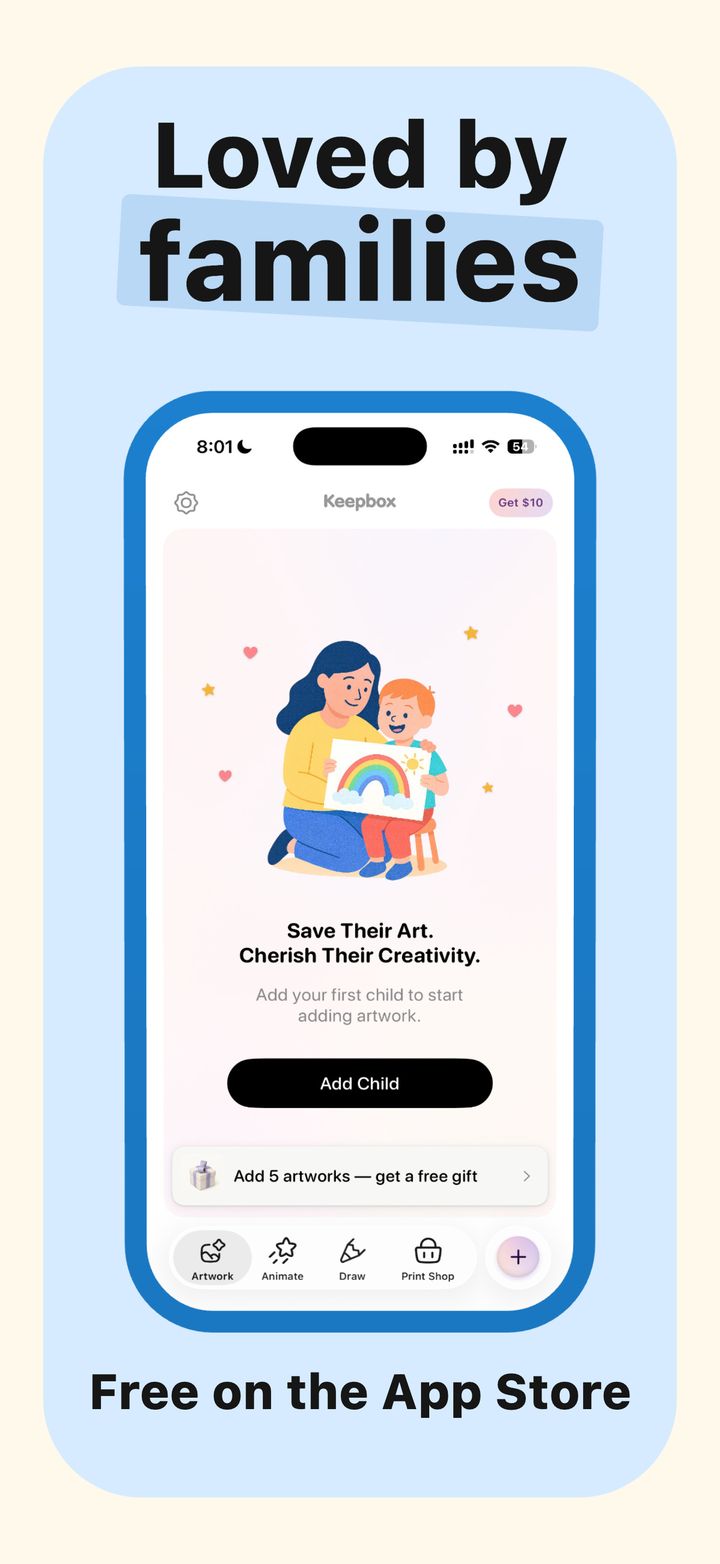
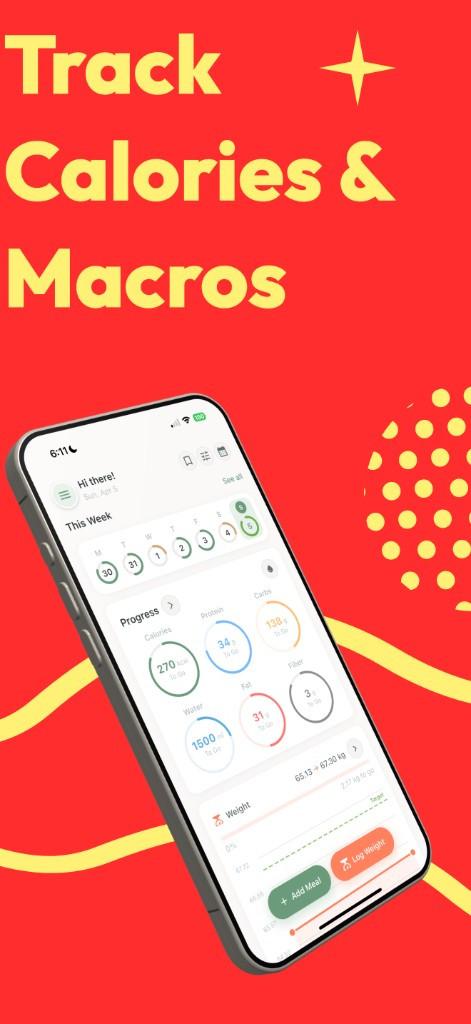
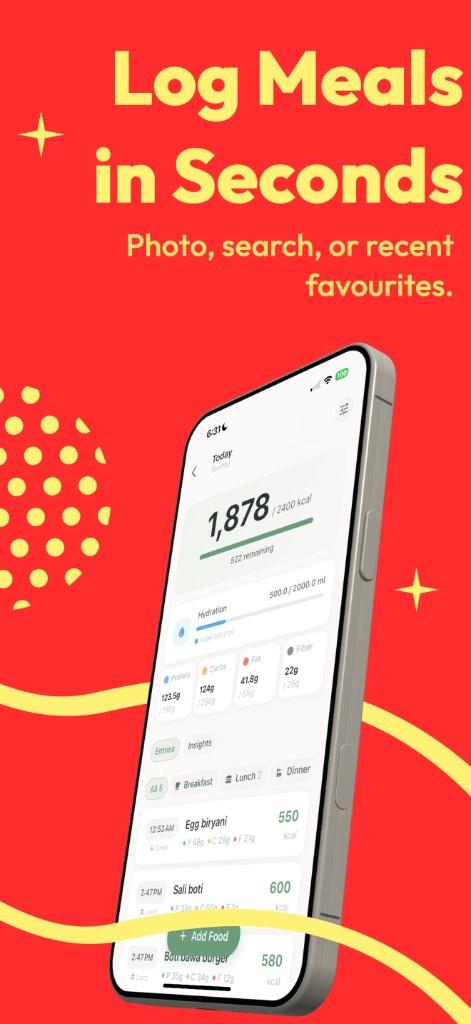
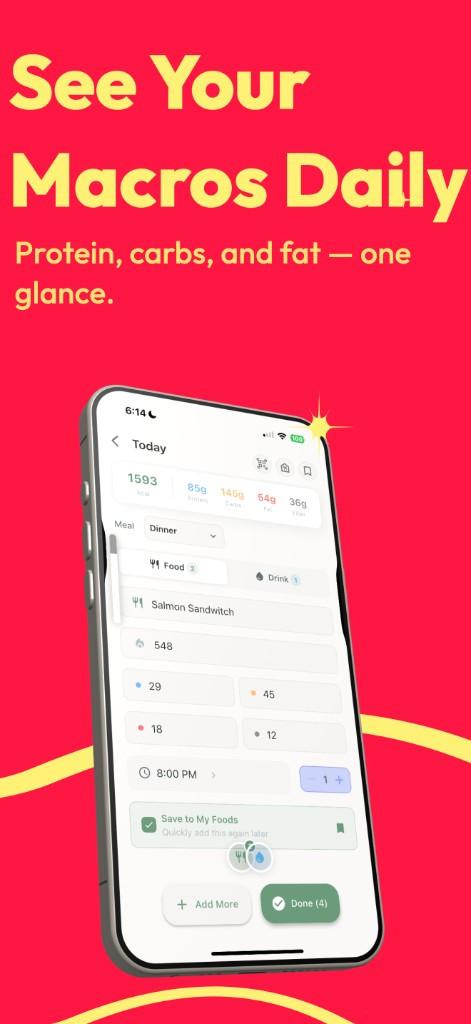
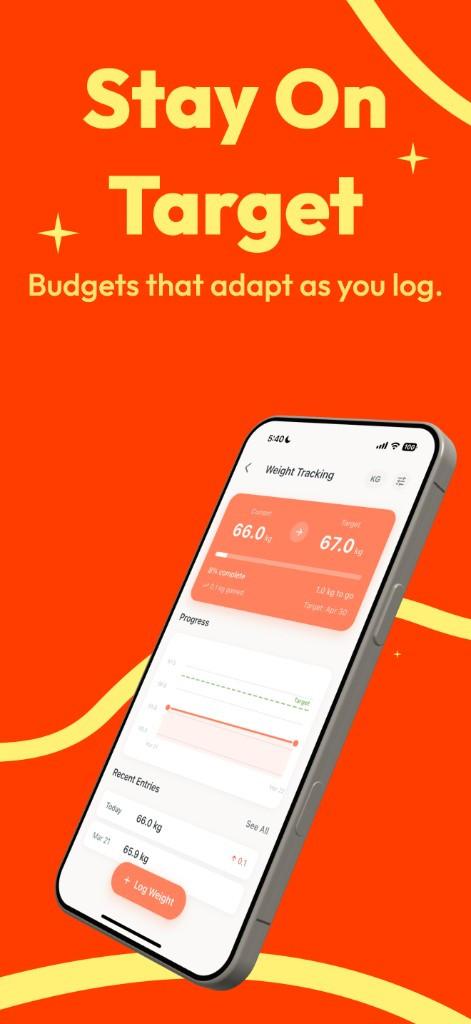
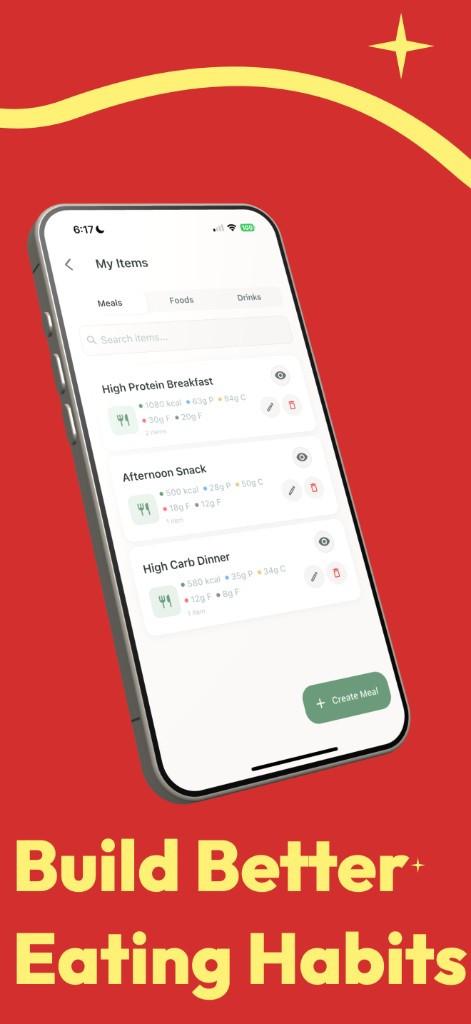
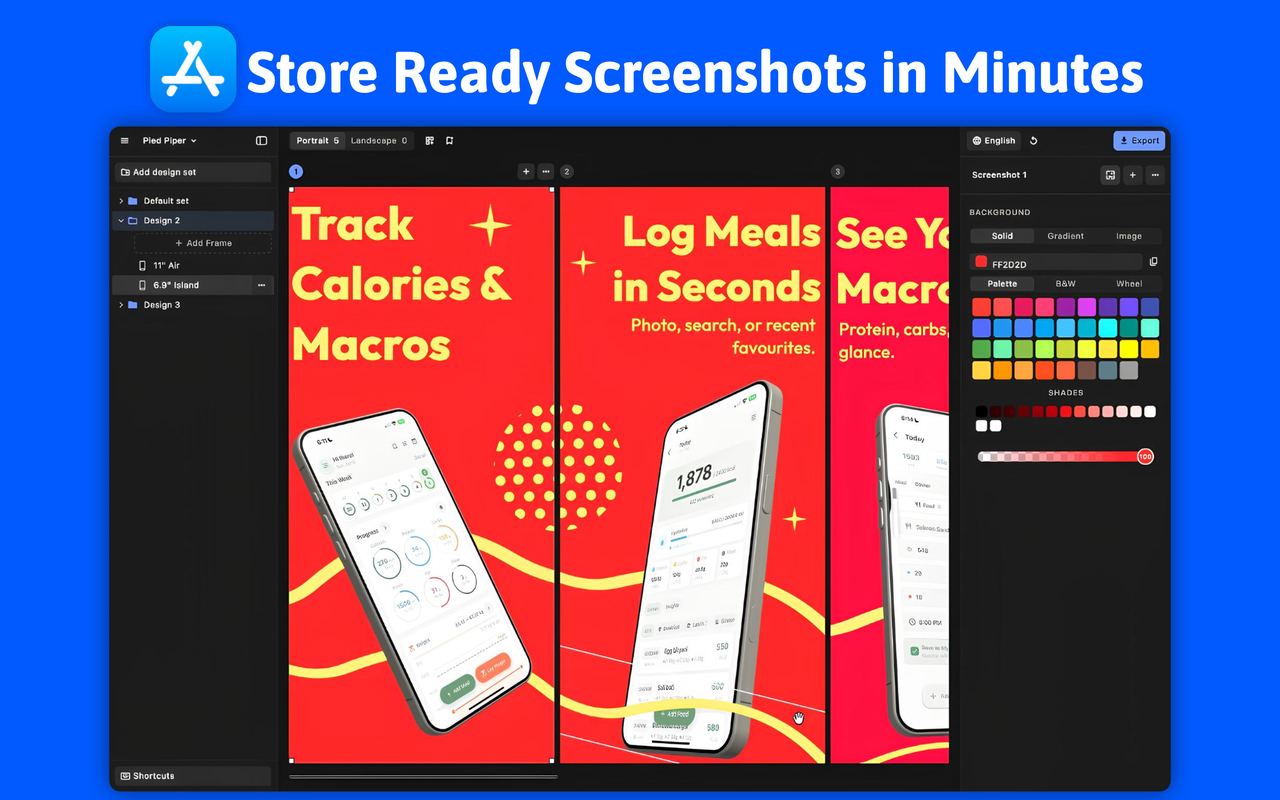
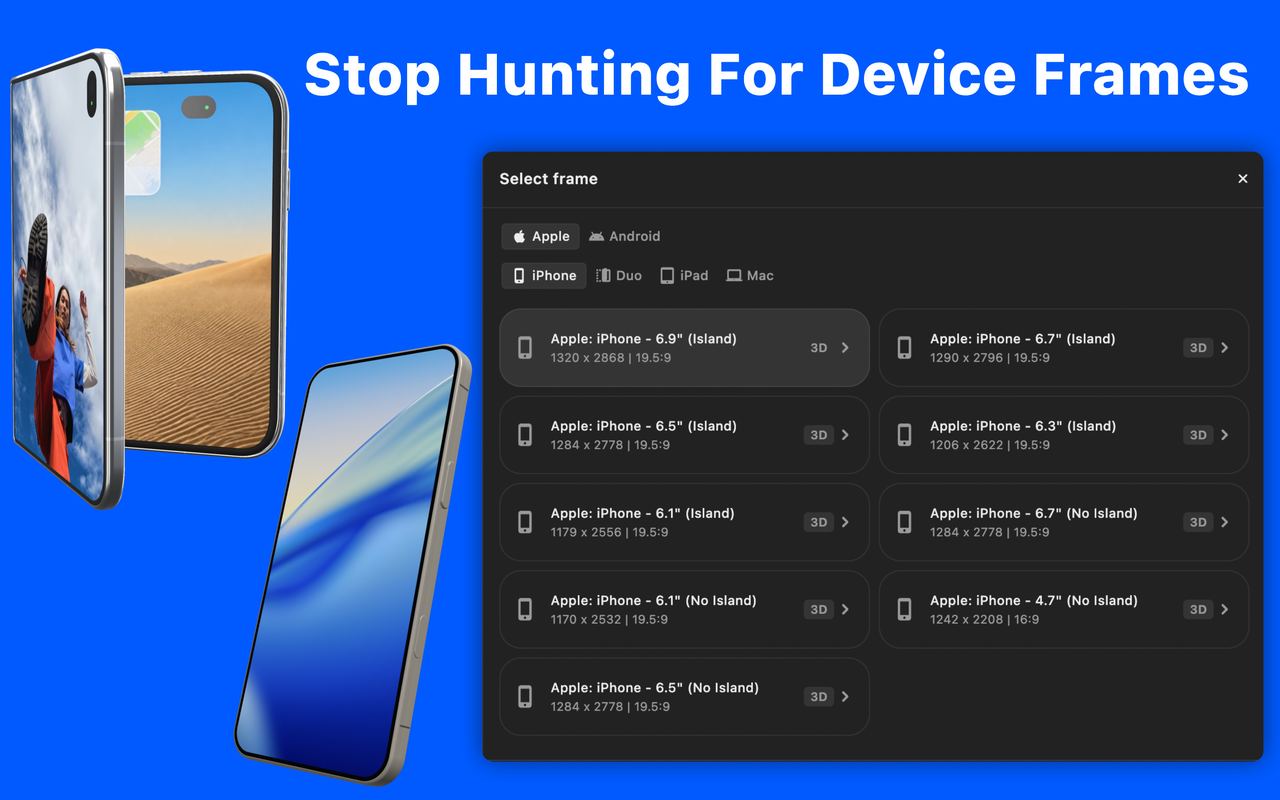
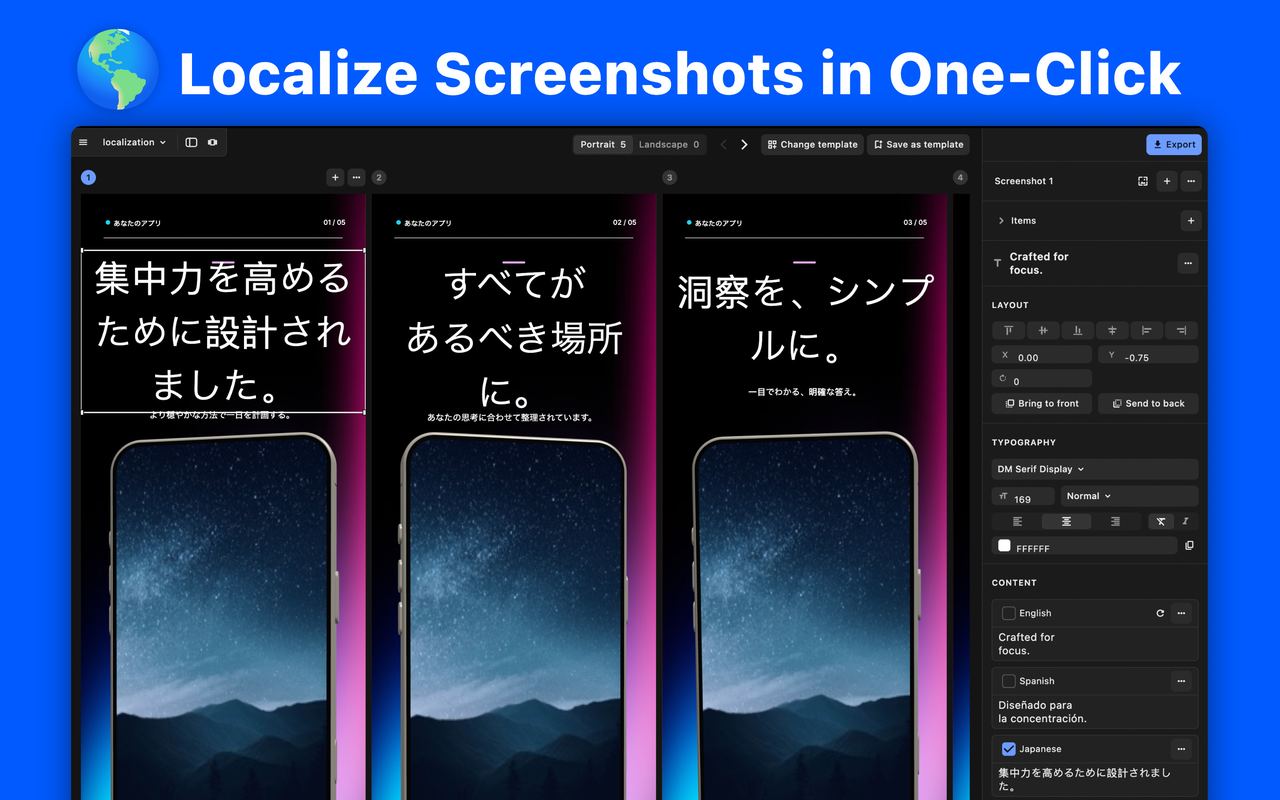
Creating store screenshots in AppShots, step by step.
Most people decide on your app from the first screenshot or two. In StoreMaven’s 2019 study of product pages without a video, the share of visitors who saw each screenshot in full dropped off sharply after the first one:
Share of visitors who see each screenshot in full. Source: StoreMaven, 2019.
The same research found that 60% of visitors never scroll past that first impression, and half of installers decide on it alone. So the first few screenshots carry most of the weight.
Steps to create store screenshots in AppShots:
1. Create a New App
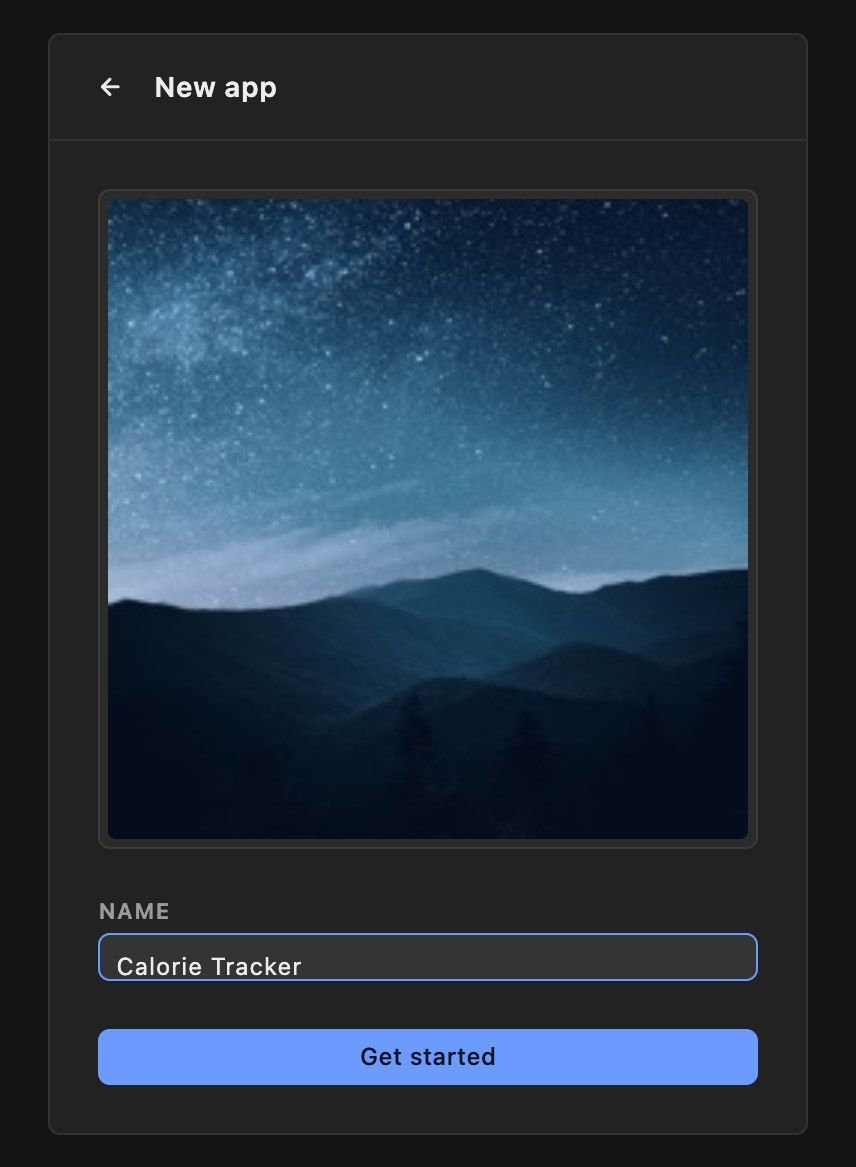
From My apps, click New app, give it a name and an icon.
2. Select a Device Frame
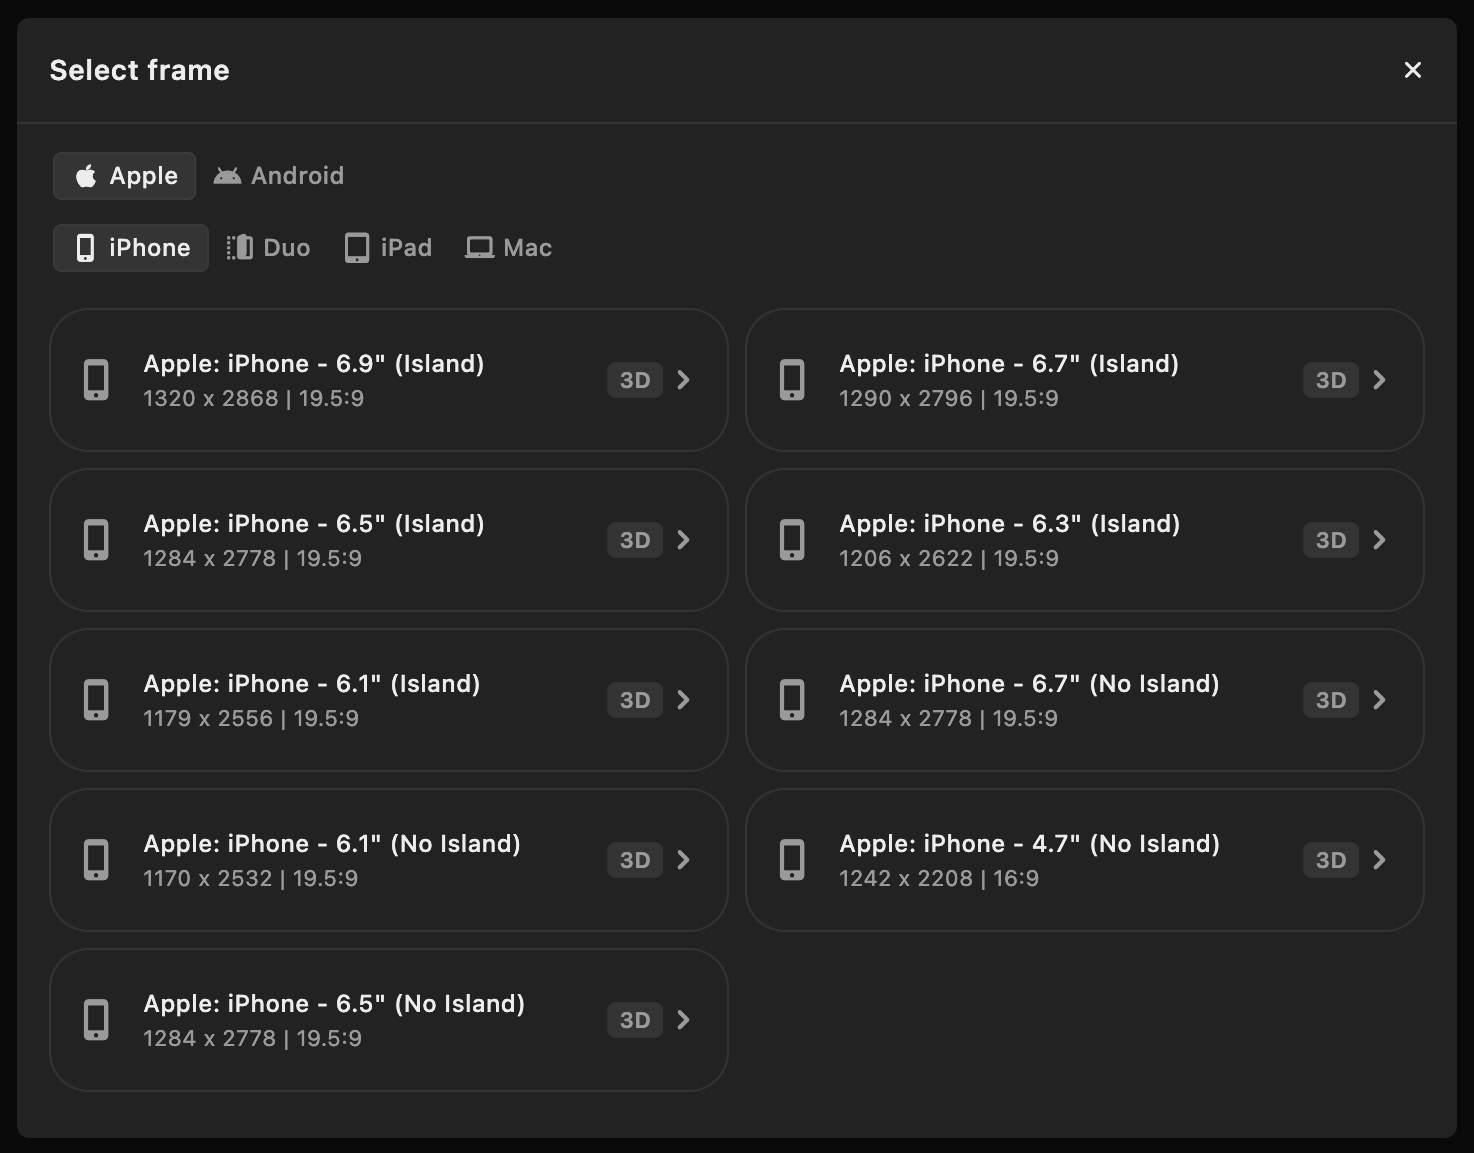
Pick the device frame for which you want to create storescreenshots. You can see the export dimensions and aspect ratios for each frame in the frame selection dialog.
Both App Store and Play Store reject screenshots if they don’t match the required dimensions set by the store. Here is what they ask for today:
| App Store | Google Play | |
|---|---|---|
| Screenshots per listing | 1 to 10 per device type | 2 to 8 per device type |
| Required screenshot size | iPhone with medium Dynamic Island: 1206 x 2622 or 1179 x 2556 (6.9” sizes are still accepted) | 320 to 3840 px per side, long side at most 2x the short side |
| Tablet | 13” iPad (2064 x 2752 or 2048 x 2732) if your app supports iPad | Optional |
| Extra rule worth knowing | Upload the largest required size and App Store Connect scales it down for smaller devices | At least 4 screenshots of 1080 px or more to qualify for recommendation spots |
Sources: Apple screenshot specifications, Google Play preview assets.
Play Store tip: Google’s own guidelines suggest avoiding device imagery, since frames can date quickly. For Play listings, consider turning the chassis off (on frames that support it) and keeping only the bordered app screenshot.
3. Select a template
Next, pick a template from the template selection gallery. Selected template will use the device frame you picked earlier. Or you can start from blank with minimal screenshot design.
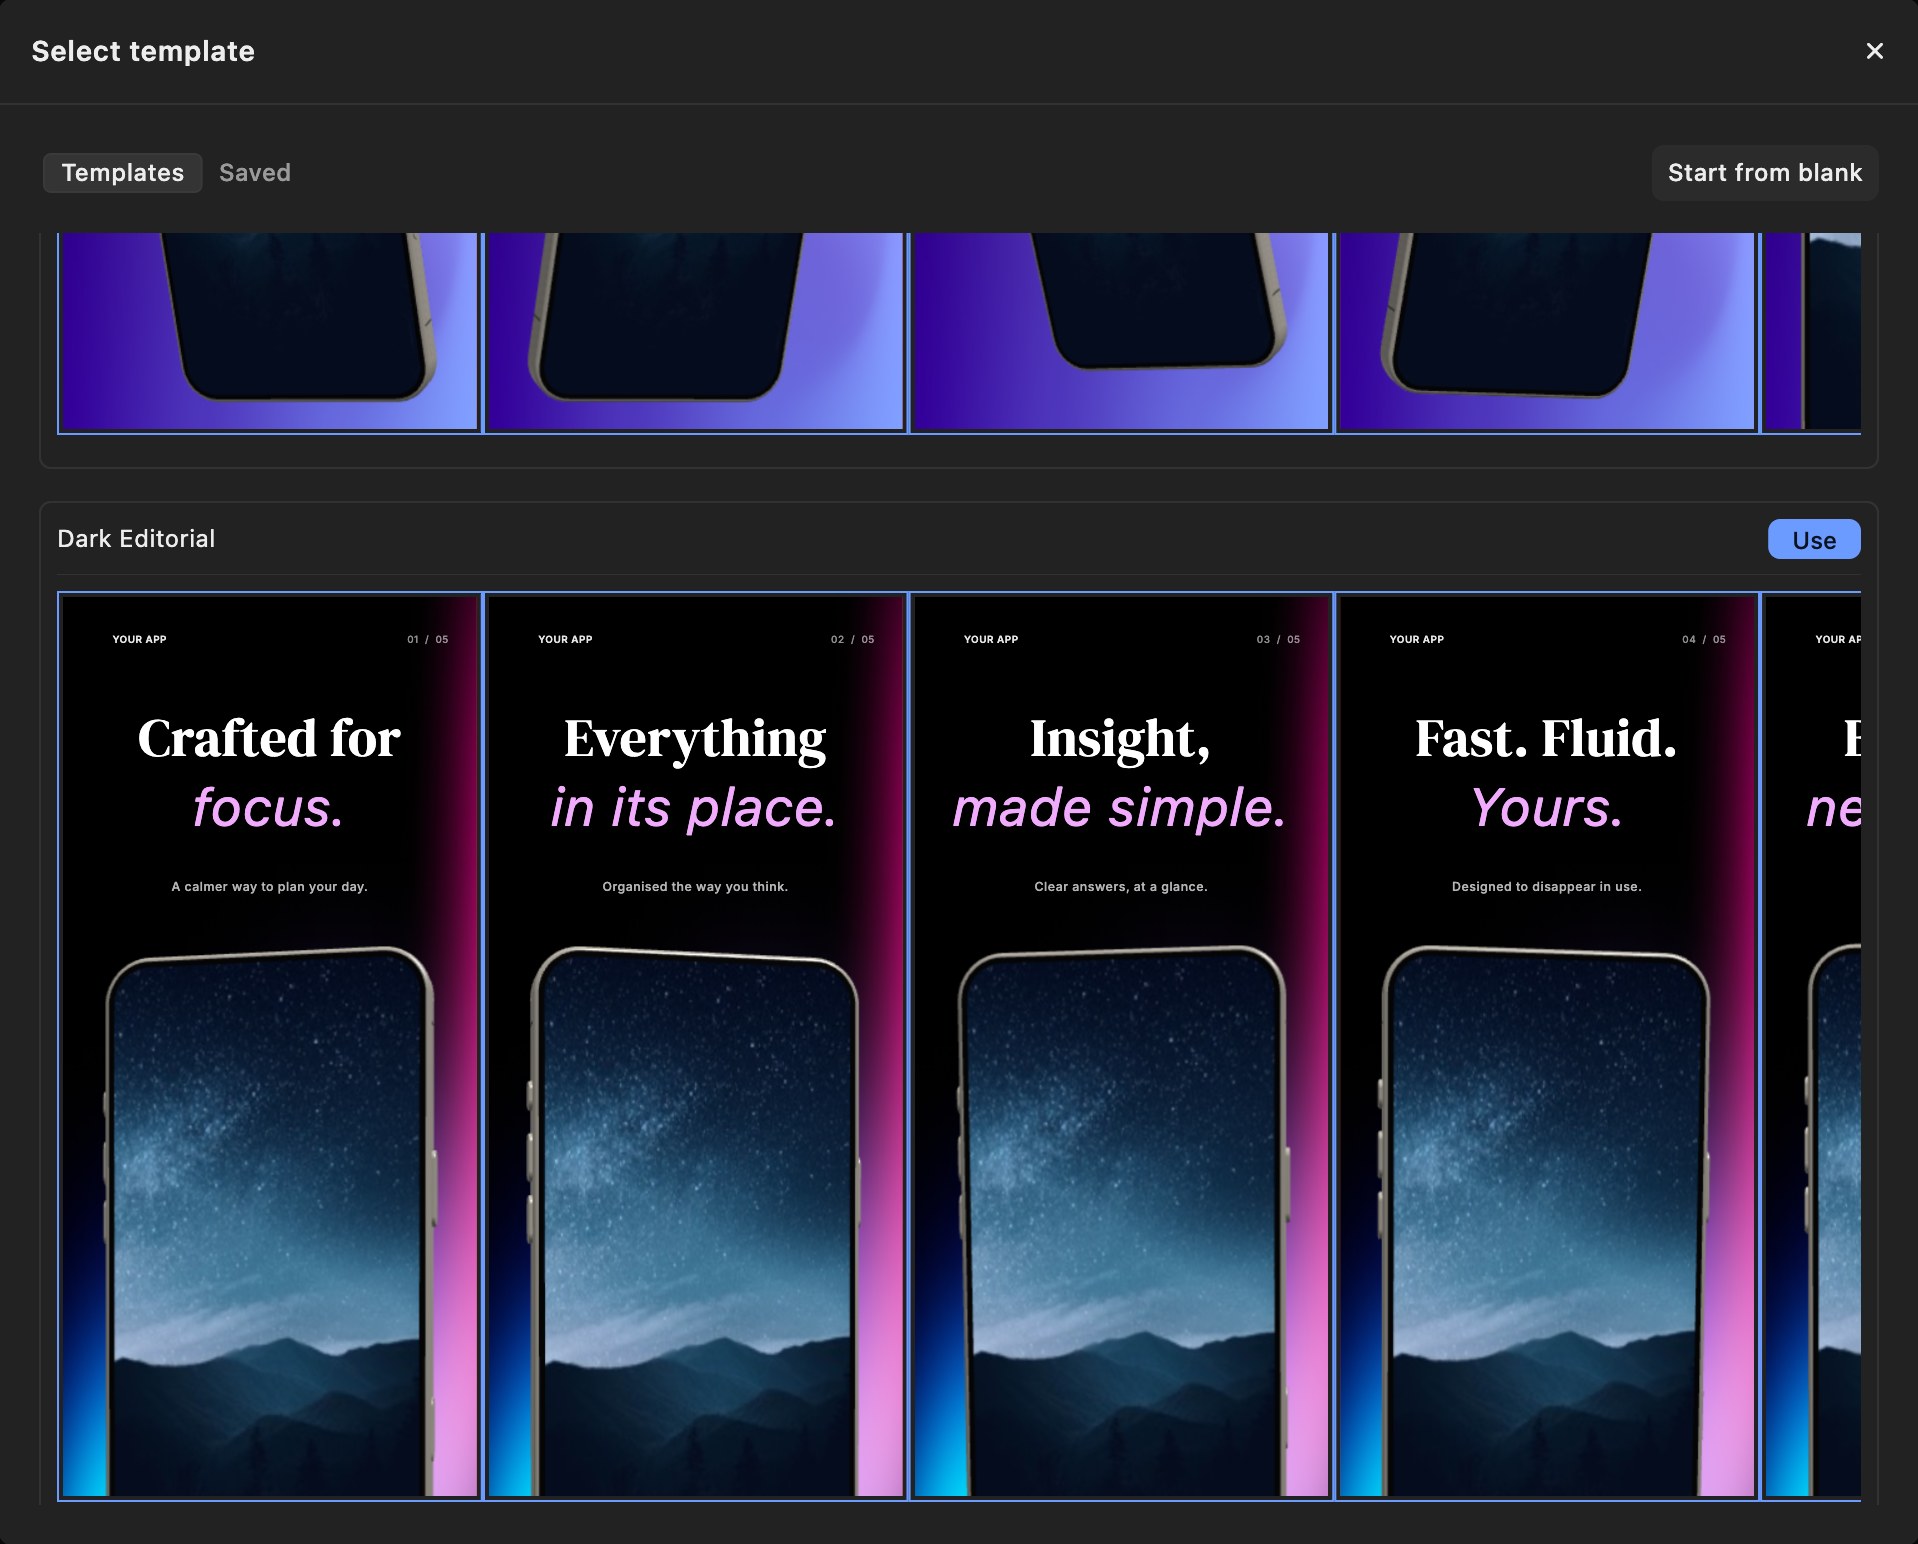
Apple advises that your first screenshots should “highlight the essence of your app”, and each one after that should focus on a single benefit. Screenshots that looks like one designed set reads as one story, and that story is what people scroll through. In one SplitMetrics test, screenshots that told a consistent story lifted conversion by 25.6%.
4. Edit your screenshot labels
Click a headline on the canvas to select it. Double click it to start editing the text. You can style the text as a whole or style specific parts of the text using the side panel on the right. Adjust font size, family, color,etc till you are happy with the result.
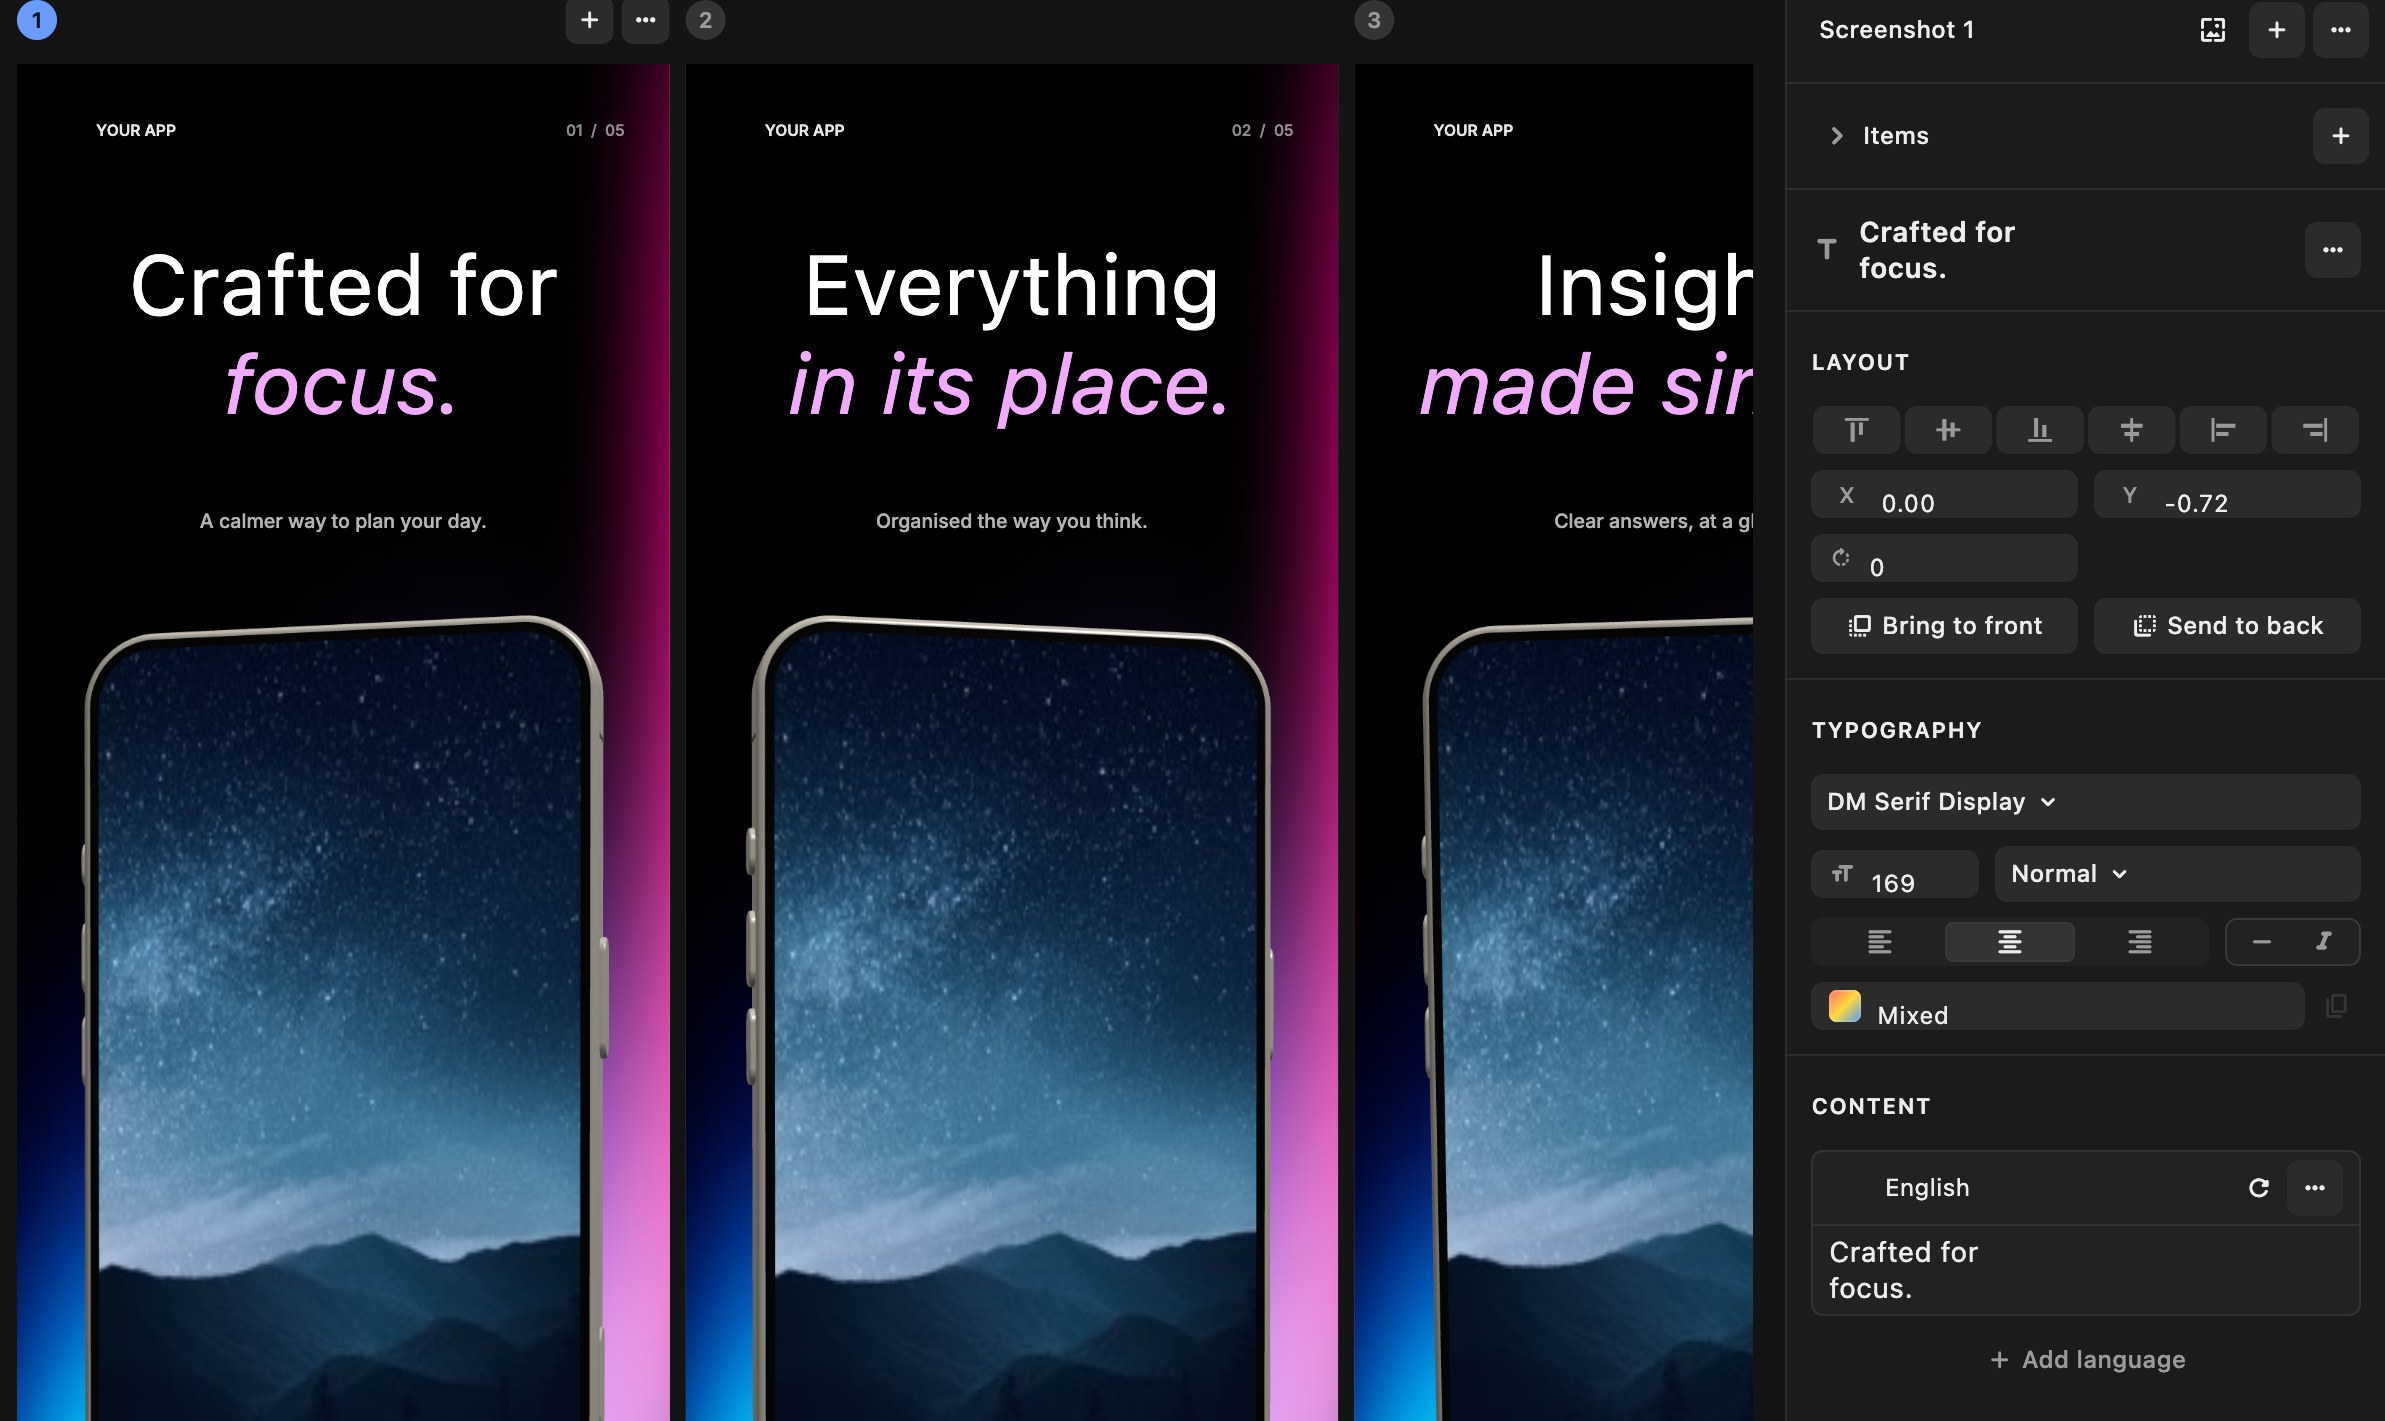
Most visitors skim past screenshots very quickly. In the 2019 StoreMaven study, decisive visitors gave a product page about 3 to 6 seconds. A few things that help in that window:
- Lead with a benefit, not a feature name or description. “Track meals in seconds” lands faster than “Food log”.
- Keep it short. Google suggests captions take up no more than 20% of the image and asks you to avoid words like “Best” or “#1”.
- Make it readable at thumbnail size. A SplitMetrics audit found hard-to-read text on 40% of the product pages it reviewed.
After shorter, more action-led captions and new artwork, the game studio ZiMAD saw 32% more users tap install.
5. Adjust the design
Update the design if you want to better match what we’ve discussed so far. Use Edit background in the screenshot header for a solid color, gradient, image, or one panoramic image. Or add additional design elements using Add item to drop in text, shapes, design assets, your own images/svgs as assets, or an additional device frame.
Make sure your final design conveys the story you want to tell about your app. And its lead with a benefit. Not a feature driven.
Why this matters: Apple’s review guidelines say screenshots should show the app in use, not just title art or a splash screen, and they allow text and image overlays on top. Use the design to frame your real UI, not to replace it.
6. Localize your screenshots (optional)
If you want to support multiple locales in your screenshots, it’s very easy to do so with AppShots. Simply select any text on the screenshot, click on add language button in the bottom of the editing sidepanel, select your desired language. And then AppShots will automatically translate all of the text labels across all of the screenshots for that frame into the selected language.
AppShots uses google translate API to translate the text labels into the selected language. So, translations are as accurate as they can be.
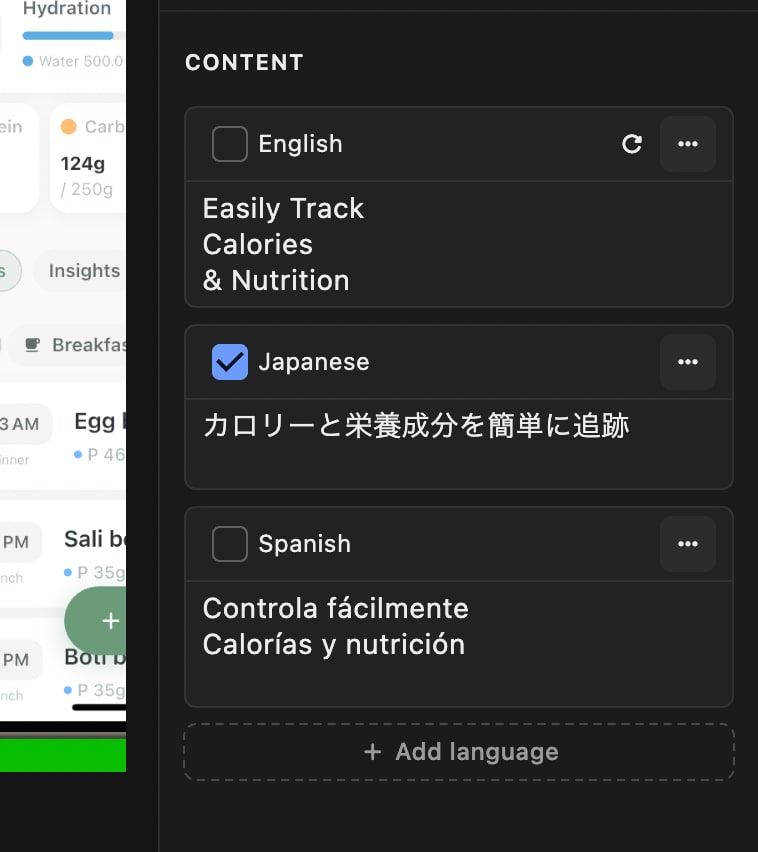
App Store runs in 175 regions and 50 languages. In a 2020 survey of 8,709 consumers, CSA Research found that 76% of online shoppers prefer to buy products with information in their native language, and 40% will never buy from websites in other languages. Localized screenshots have paid off in published A/B tests:
| App | Market | Result | Source |
|---|---|---|---|
| Paper by FiftyThree | China | Localized screenshots performed 33% better than English ones | SplitMetrics |
| ZiMAD | Japan | 36% higher conversion rate | SplitMetrics |
| Koo | India | 15% more organic installs in non-English languages with localized listings | Google Play |
These are results from single apps, not averages, so test in your own markets. If you only localize one thing, make it the first two or three screenshots.
7. Export your screenshots
When you’re happy with the screenshots, you can export them by clicking on the export button in the top-right corner of the editor. On the export window, you can select if you want to export both portrait and landscape screenshots or either of them.
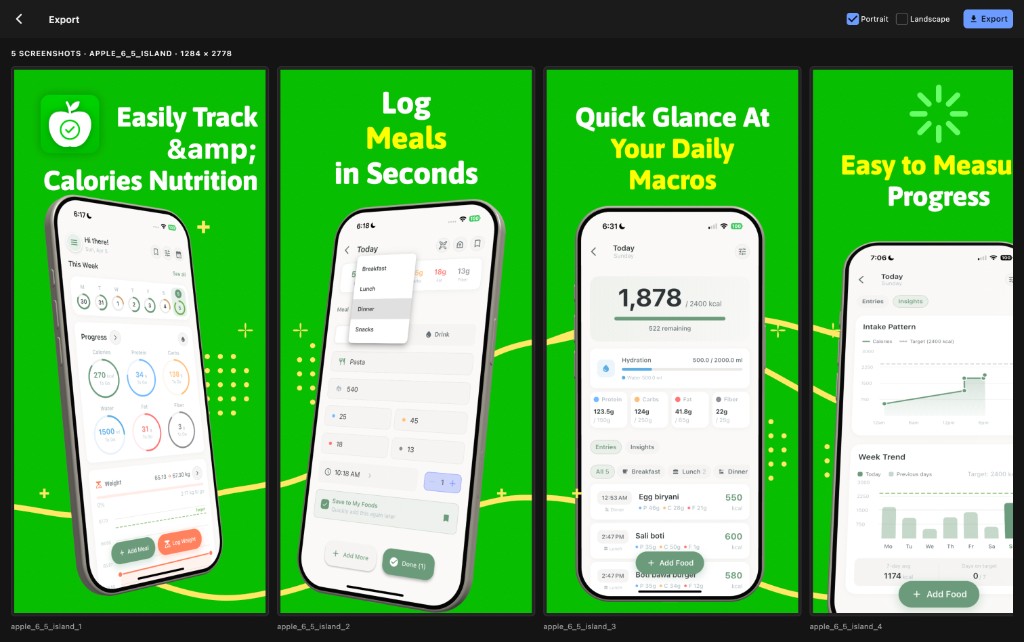
After your screenshots are live, give them a few days to see how they perform. Nobody gets screenshots right on the first try, so keep working on improving them by analyzing your impressions -> product page conversion stats in App Store Connect or Play Console. And optimize your screenshots based on what’s working and what’s not.
Things you can look into for Screenshots A/B testing: Apple’s product page optimization lets you test up to three alternate screenshot sets against your original, and Google Play’s store listing experiments do the same.
All the best with your store screenshots!